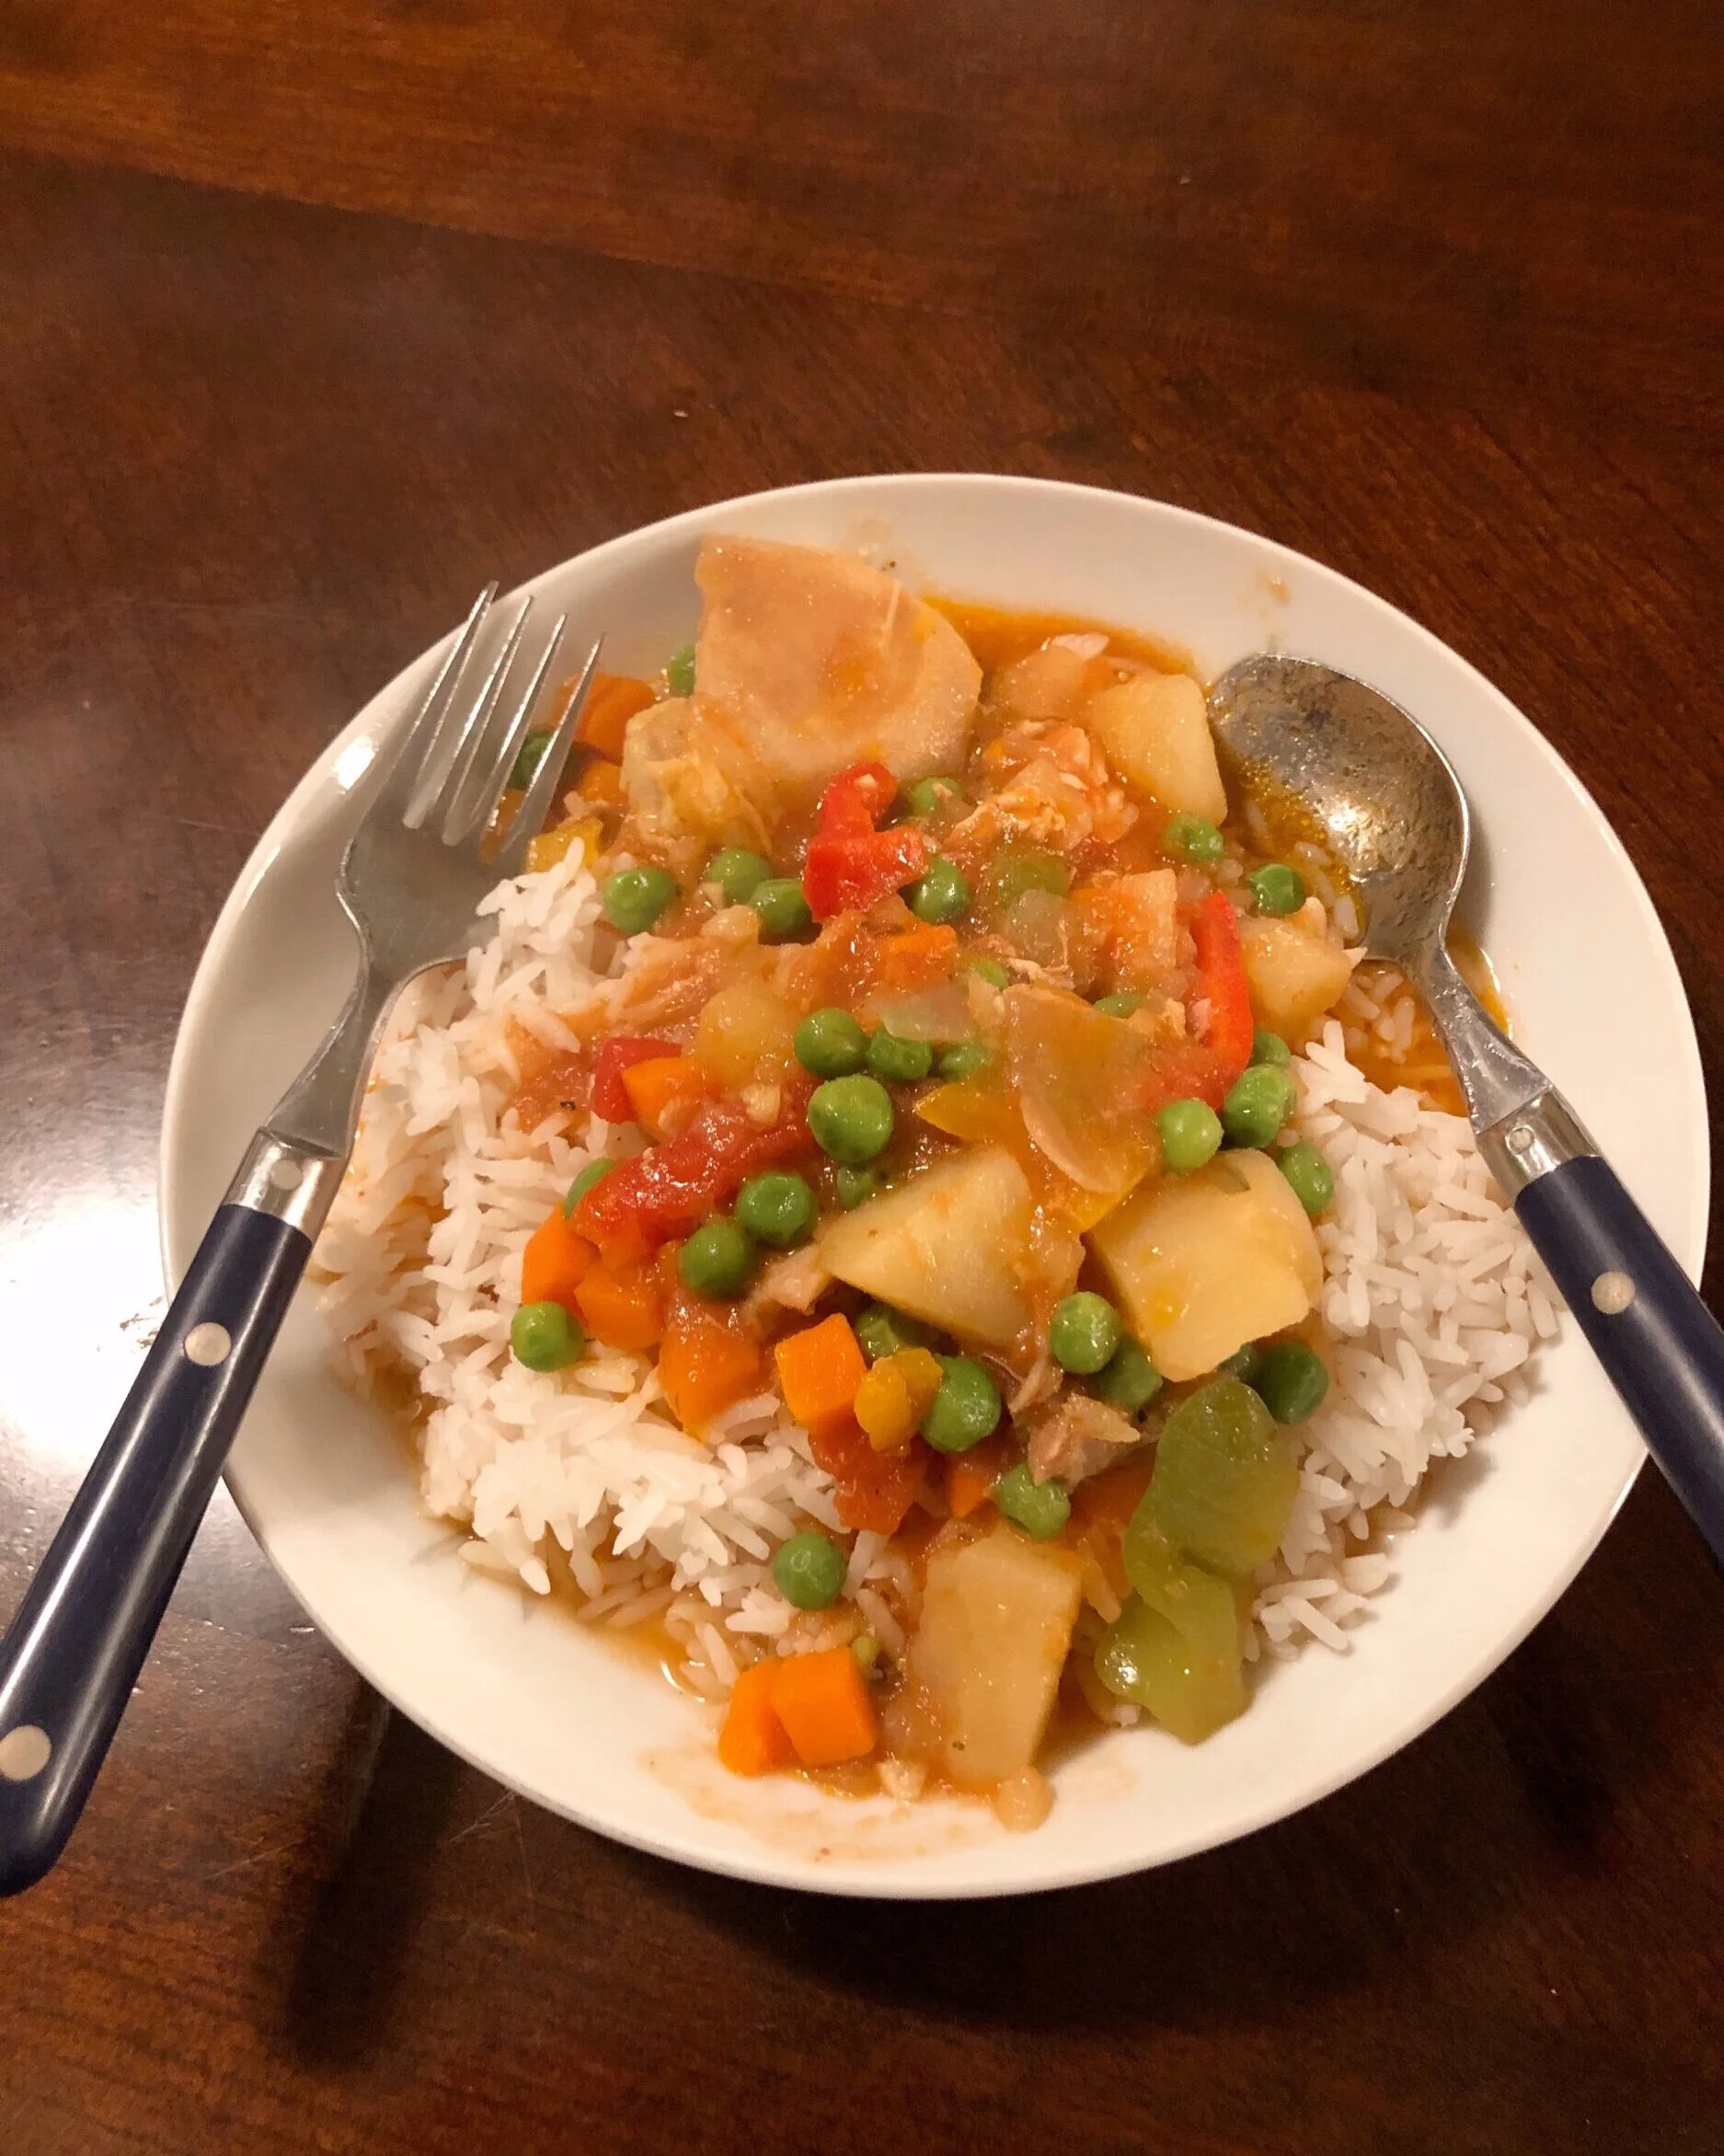
On Our Menu - Vegetable Pancit Bihon

This is an accompanying post to a video on my channel linked below. (Available May 19, 2020 12pm Pacific.)

I loathe big stories before the ingredients list when I am looking up a recipe. So, I’m going to give you the details right up front.

Basic recipe ingredients:

  • 1 8ounce package of Excellent Brand Rice Stick (We used 2 packages in this video.)

  • 2 carrots julienned

  • 1 medium yellow onion sliced

  • 4 cloves of garlic (at minimum) chopped (We used 8 cloves.)

  • 2 stalks of celery sliced

  • 1 cup of snow peas sliced

  • 2-3 cups of cabbage or bok choy sliced (We used bok choy.)

  • 2+ tablespoons of soy sauce (to taste)

  • 1 tablespoon of Filipino fish sauce (optional)

  • 1 small lemon sliced and seeded

  • Ground black pepper to taste

  • A neutral oil like canola for the pan.

  • Water if needed. (Traditionally, chicken stock is used.)

  • Optional but traditional (chicken, pork and shrimp) small bite sized pieces cooked after the onions and garlic. Or as Jina says in the video use leftover meat.

Basically follow the steps in the video and you’re good. This a very tasty easy side dish or meal to make.

Substitutions:

  • If you cannot find the Excellent Brand of Noodles at the store or on Amazon like I can. Maifun rice stick noodles also can work.

  • Tamari. I get asked this a lot from my gluten free friends. Yes, you can substitute tamari for soy sauce.

  • Also, as stated in the video I cannot confirm whether or not if the noodles I used are gluten free or not so I will leave that up to you to discover.

“A person I know makes it differently.”

Ahh yes, that is one of the greatest joys in life isn’t it? We all add our own personal touches to dishes that make it ours. I personally have never tasted to lasagnas that are the same.

This is a tried and true version for us that I learned to make from my mom and stepmothers. (All of my stepmothers were Filipino too.)

Are you sure you’re Filipino? You don’t look like it. Also, should you be making a Filipino dish if you’re only “half”.

I have laughed in someone’s face when I was asked am I sure that I am Filipino. If you knew my mom, you’d know she’s undoubtedly my mother. I just happen to look like the other parent that created me.

I am proudly Filipino with a sprinkling of another Asian heritage. My children (who are a quarter Filipino with darker skin than I have) and I are white passing. Genetics are wild like that. However, as many biracial people will attest, we are whole people with blended heritages. This is my cultural experience and I get to claim it. Just like I get to claim my German heritage from my dad.

Left - Thea’s Mom. Right - Thea’s Lola (Grandma) 1970s.

Left - Thea’s Mom. Right - Thea’s Lola (Grandma) 1970s.

I did not have the “typical” white American childhood. My mom suffered from culture shock when she came to America and I witnessed a lot of that. I also went to school with “smelly” lunches and other “typical” “my mom is from another country and speaks another language” stuff.

My children have a Lola (tagalog for grandma) and got to experience very Filipino things too.

Like with many cultures, I, and now my adult children get to express their appreciation for our heritage through the dishes we make. Sharing a meal with your people, friends or family is the best way to show fellowship for a lack of a better term. If you’ve ever met a Filipino, you’d know there’s nothing more that we like to do. Share a meal, sing, dance and have togetherness. I am proud to share this little of togetherness with you.

Mabuhay.

Thea

Domestic Adventures - Ginger Beer

This is sort of a flash back post in a way. These days my main content is fabric based. Once upon a time I posted recipes regularly and shared what my growing family was up to. The current “season” of my life is a bit different. I’m learning to cook smaller meals since my nest is emptying. Which in turn adds to the benefit of focusing on foods and drinks that are more adult geared.

TheaStarr_MakingGingerBeer

Enter ginger beer. John and I recently became ginger beer obsessed. We love the bitey taste. The only bummer is that the really good ones are pricey. So, off to the internet I went to see how ginger beer was made. I quickly discovered it sounded “easy” to make at home.

“Ginger Bug” mush.

“Ginger Bug” mush.

Easy in quotes because there are steps involved. First - you need to make a ginger bug. I basically followed this recipe. It does take some dedication, but so far it’s been worth the effort to me.

Draining the liquid from the mush.

Draining the liquid from the mush.

My current dilemma is attaining really nice affordable sealing flip top bottles. Good ones that keep things super air tight. I do not recommend the IKEA ones.

The good-good.

The good-good.

My personal tips are : Make sure everything is clean. Use filtered water. Be mindful of the temperature of where you store it. Fermentation time will vary due to temperature. Get really good sealing bottles.

Juicing lemons for the beer.

Juicing lemons for the beer.

Since I’m new to this recipe I don’t feel comfortable giving a step by step walk through. So, Im just sharing some pictures of the process I follow.

Remember any home brewing is risky and always be wary of anything that smells off or looks bad.

The final mixture. Ginger bug juice, lemon juice, simple syrup and water.

The final mixture. Ginger bug juice, lemon juice, simple syrup and water.

My kitchen is usually a laboratory anyways, so this was a welcome addition. When it warms up I will be adding kombucha back to the mix too.

Below you can see that I don’t have any of the fancy things, Just some cotton cloths and mason jars. I wash and sterilize everything weekly. Even the sourdough starter jar.

A corner of my kitchen counter. The ginger beer fermenting in the left back. Sourdough starter front and center. My ginger bug in the back right.

A corner of my kitchen counter. The ginger beer fermenting in the left back. Sourdough starter front and center. My ginger bug in the back right.

I hope that helps those of you who asked questions on IG & FB. AGAIN I am not an expert of even a super proficient at this so Google your pants off on the topic and adventure at your own risk.

xo-Thea

The end result. I drink it as is or with a splash of vodka. :)

The end result. I drink it as is or with a splash of vodka. :)

Recipe: Hot & Sour Soup

Well, I might as well keep this recipe train going.

Homemade Hot & Sour Soup in a vintage Fire King soup mug

Homemade Hot & Sour Soup in a vintage Fire King soup mug

Hot & sour soup is an easy meatless Monday meal. It’s deceivingly filling and you can make it vegan by replacing an egg with Just Egg.

Many of the ingredients can be found in the Asian section of your grocery store.

Hot & Sour Soup

Ingredients:

  • Dried sliced Shitake mushrooms - I never measure I just grab a handful. Soak in hot water for 30 minutes then drain.

  • 8 cups of vegetable broth.

  • 1/4 - 1/2 cup of rice wine vinegar (to your taste)

  • 2-3 tablespoons of soy sauce (to your taste)

  • 1-2 tablespoons of hot chili oil (to your taste)

  • 2 tablespoons of sesame oil

  • 1 package of firm tofu (drained and cubed)

  • 1/2 cup of frozen peas & carrots

  • 1/2 cup of thinly sliced bamboo shoots. (They usually come canned.)

  • 2 green onions chopped (for topping)

  • 1 egg beaten (or Just Egg replacer)

Like I mentioned, get your dried mushrooms hydrated before you get your soup going. No one likes a chewy semi dry mushroom.

In a large pot on medium heat add your vegetable broth, vinegar and sesame oil. Add in the vinegar, making sure to taste as you add it in. Some people get prune faced when they eat vinegar. Me, I’m pretty sure I can drink that shit like water. My mom legit used to do that. So I probably go over that 1/2 cup measurement.

Do the same incremental tasting when you add the soy sauce next. If you’re using store bought broth or veggie bullion, the bummer is that it can be pretty salty. So don’t salt yourself out.

Get a decent bubbling going on with the broth and add the chili oil, tofu, peas & carrots, bamboo shoots and mushrooms. Don’t forget to stir so it doesn’t stick to the bottom.

Final stage is adding the egg. If you’re not using Just Egg, you’ll need to beat the egg. Slowly drizzle the egg into the hot broth. Give it a very light stir so it doesn't disappear to the bottom. Kill the heat top with green onions and serve.

So what you’ll find missing from my recipe is cornstarch. While it does have it’s place in my kitchen, I don’t like in my hot & sour soup. I like the ingredients’ individual textures and don’t need it masked with a cornstarch slurry, like gravy. Its soup not gravy.

Enjoy!

xo-Thea

Recipe: Afritada (Filipino Chicken in Tomato Sauce)

So, this is out of the blue. I technically have a few posts to kick out that are business related and other relevant stuff for here. But here I am posting a food recipe, because that’s what the internet is for. It’s like my old Blogger blog or my old Livejournal! Hahaha!

On my private Instagram, which is basically a food/thrifting/family life/feed - I often share what I am eating/cooking. I am lactose intolerant/have a dairy allergy and a side effect of that is that I often opt to eat vegan when I’m out to save myself any woes. I share what I’m cooking (dairy free experiments) like every other dork on the interwebs. However, this recipe is not vegan. It’s “vegetarian” in some Filipinos eyes because it’s chicken. My sister in law Erin and I had a conversation once about when she was vegetarian and was eating with her husband’s family (Filipinos) who knew she was a vegetarian and her MIL offered her chicken. Hahaha! That’s such a Filipino move.

There are Filipino food bloggers that are attempting to convert some traditional recipes to vegan dishes that I have dog-eared to try and I will report back on that. But for now, this Afritada - is a recipe I learned from one of my step-mothers; Angelita. She passed away a few years ago from brain cancer. She was eccentric, loved Elvis Presley and high fashion and was an excellent cook. I think of her fondly every time I make this.

Afritada = Chicken in tomato sauce stew.

Afritada

Afritada

First - get your jasmine rice going. You will eat this with rice.

Ingredients:

  • 2lbs boneless skinless chicken thighs (most use bone in - but I’m a hapa/mestisa and I’m fancy.)

  • 1 large white potato (peeled and cubed)

  • 1 medium onion (sliced)

  • 1 bell pepper (wide slices usually -yellow or red - can use frozen)

  • 3/4 cup peas and carrots (I just use the bagged frozen ones)

  • 2 cloves of garlic (minced - actually I’m lying I usually use like 6 cloves because that’s what I like)

  • 2 bay leaves

  • 2 tablespoon fish sauce (Patis is best for this - can sub with soy sauce)

  • 2 tablespoon lemon juice

  • 8oz tomato sauce

  • 2 cup Chicken broth

  • Vegetable oil for frying.

  • Salt and peper to taste

In a large pot, (I use my Dutch oven) on medium add a splash of oil and heat toss in your onions and cook until translucent.

Add potatoes to slightly crisp up the sides.

Add garlic and chicken next. (If you are using bone in + skin on chicken you’ll want cook that first.

Next add everything but the peas & carrots and bell pepper. Cover and let simmer for 20 minutes. (Add water or more broth if needed.)

Add the held back veggies, lower heat to low and cover again for 15+ minutes or (until your chicken is cooked through).

Fish out those bay leaves prior to serving and serve with rice.

Treat yo’ self and serve with Jasmine rice. It’s the best!

Treat yo’ self and serve with Jasmine rice. It’s the best!

This recipe takes a little prep but you can cook it in a slow cooker too. Something a little different to add to your food repertoire. (It took me five times to spell that. Spell check was not helping me.)

Enjoy!

xo-Thea