
Process: Hand Dyed Kimono Linings
I recently shared the above photo on my Instagram account. It's just me in my backyard dressed like a regular mom on a Sunday afternoon at home, doing what I do ; hand dyeing my kimono linings. I received a few surprising comments about it. Some didn't realize that I dye some of my fabrics. Some wondered if I was doing a first time experiment with dyes. I've been doing this so long I guess I need to do refresher posts on my process every now and then to share my story with new folks that find me a long the way. While I do mix things up with my process and continuously build my craftswomen skills on my craft, my method has been consistent for the past 12-13 years. So I get comfortable and I forget to share what all I have to get to the end result of my work.

Vintage kimono linings.
Today I am sharing my dyeing process for my fabric. Technically, I should've started with the first two steps of my process; which is dismantling the vintage kimonos and then the processing of the fabrics. Since I happened to share some of my dye process on my Instagram, we'll just skip ahead to that.

I've been exclusively using vintage kimono fabric for my kanzashi for years. Many years ago, I purchased a huge amount from Japan at a bargain and I have been pulling from that for years. During the dismantling process of the kimonos, one discovers just how much fabric it takes to make one kimono. I once pulled over 14 yards of fabric from one kimono. That included the lining. When I first started, I immediate accumulated a surplus of linings. Most of them were aged stained, torn or has insect wear. I had been an art docent for a couple of my childrens' classrooms over the years and had some left over supplies, including tie dye. I decided to see what I could do with dyeing the linings to make them usable. After experimenting with silk paints, natural plant based dyes and water based acrylic dyes, I have perfected my dye process.

I owe a lot of my color mixing experience to my dad. He let me be creative with left over (very pricey) automotive paints. He let me mix them to blend paints for small projects like, a welder's cart we made. I learned a lot about ratios and how to be in control of a pneumatic paint mixer even before I was able to drive.
I love bright vibrant colors. I am to create them during my dyeing process. The bolder colors also help hide blemishes in the fabrics. Each fabric takes to the dyes differently. So patience and experimentation is key to figuring what works best.


You'll notice in the photos that I do not wear gloves. I use non toxic and natural dyes so I feel comfortable not wearing them. I prefer to be able to touch and work in the dyes into the fabrics with my bare hands. I try to plan to do my dyeing when I do not have to be anywhere serious for a few days. Unless I feel comfortable explaining why hands are various colors.

Thea Starr's Hands
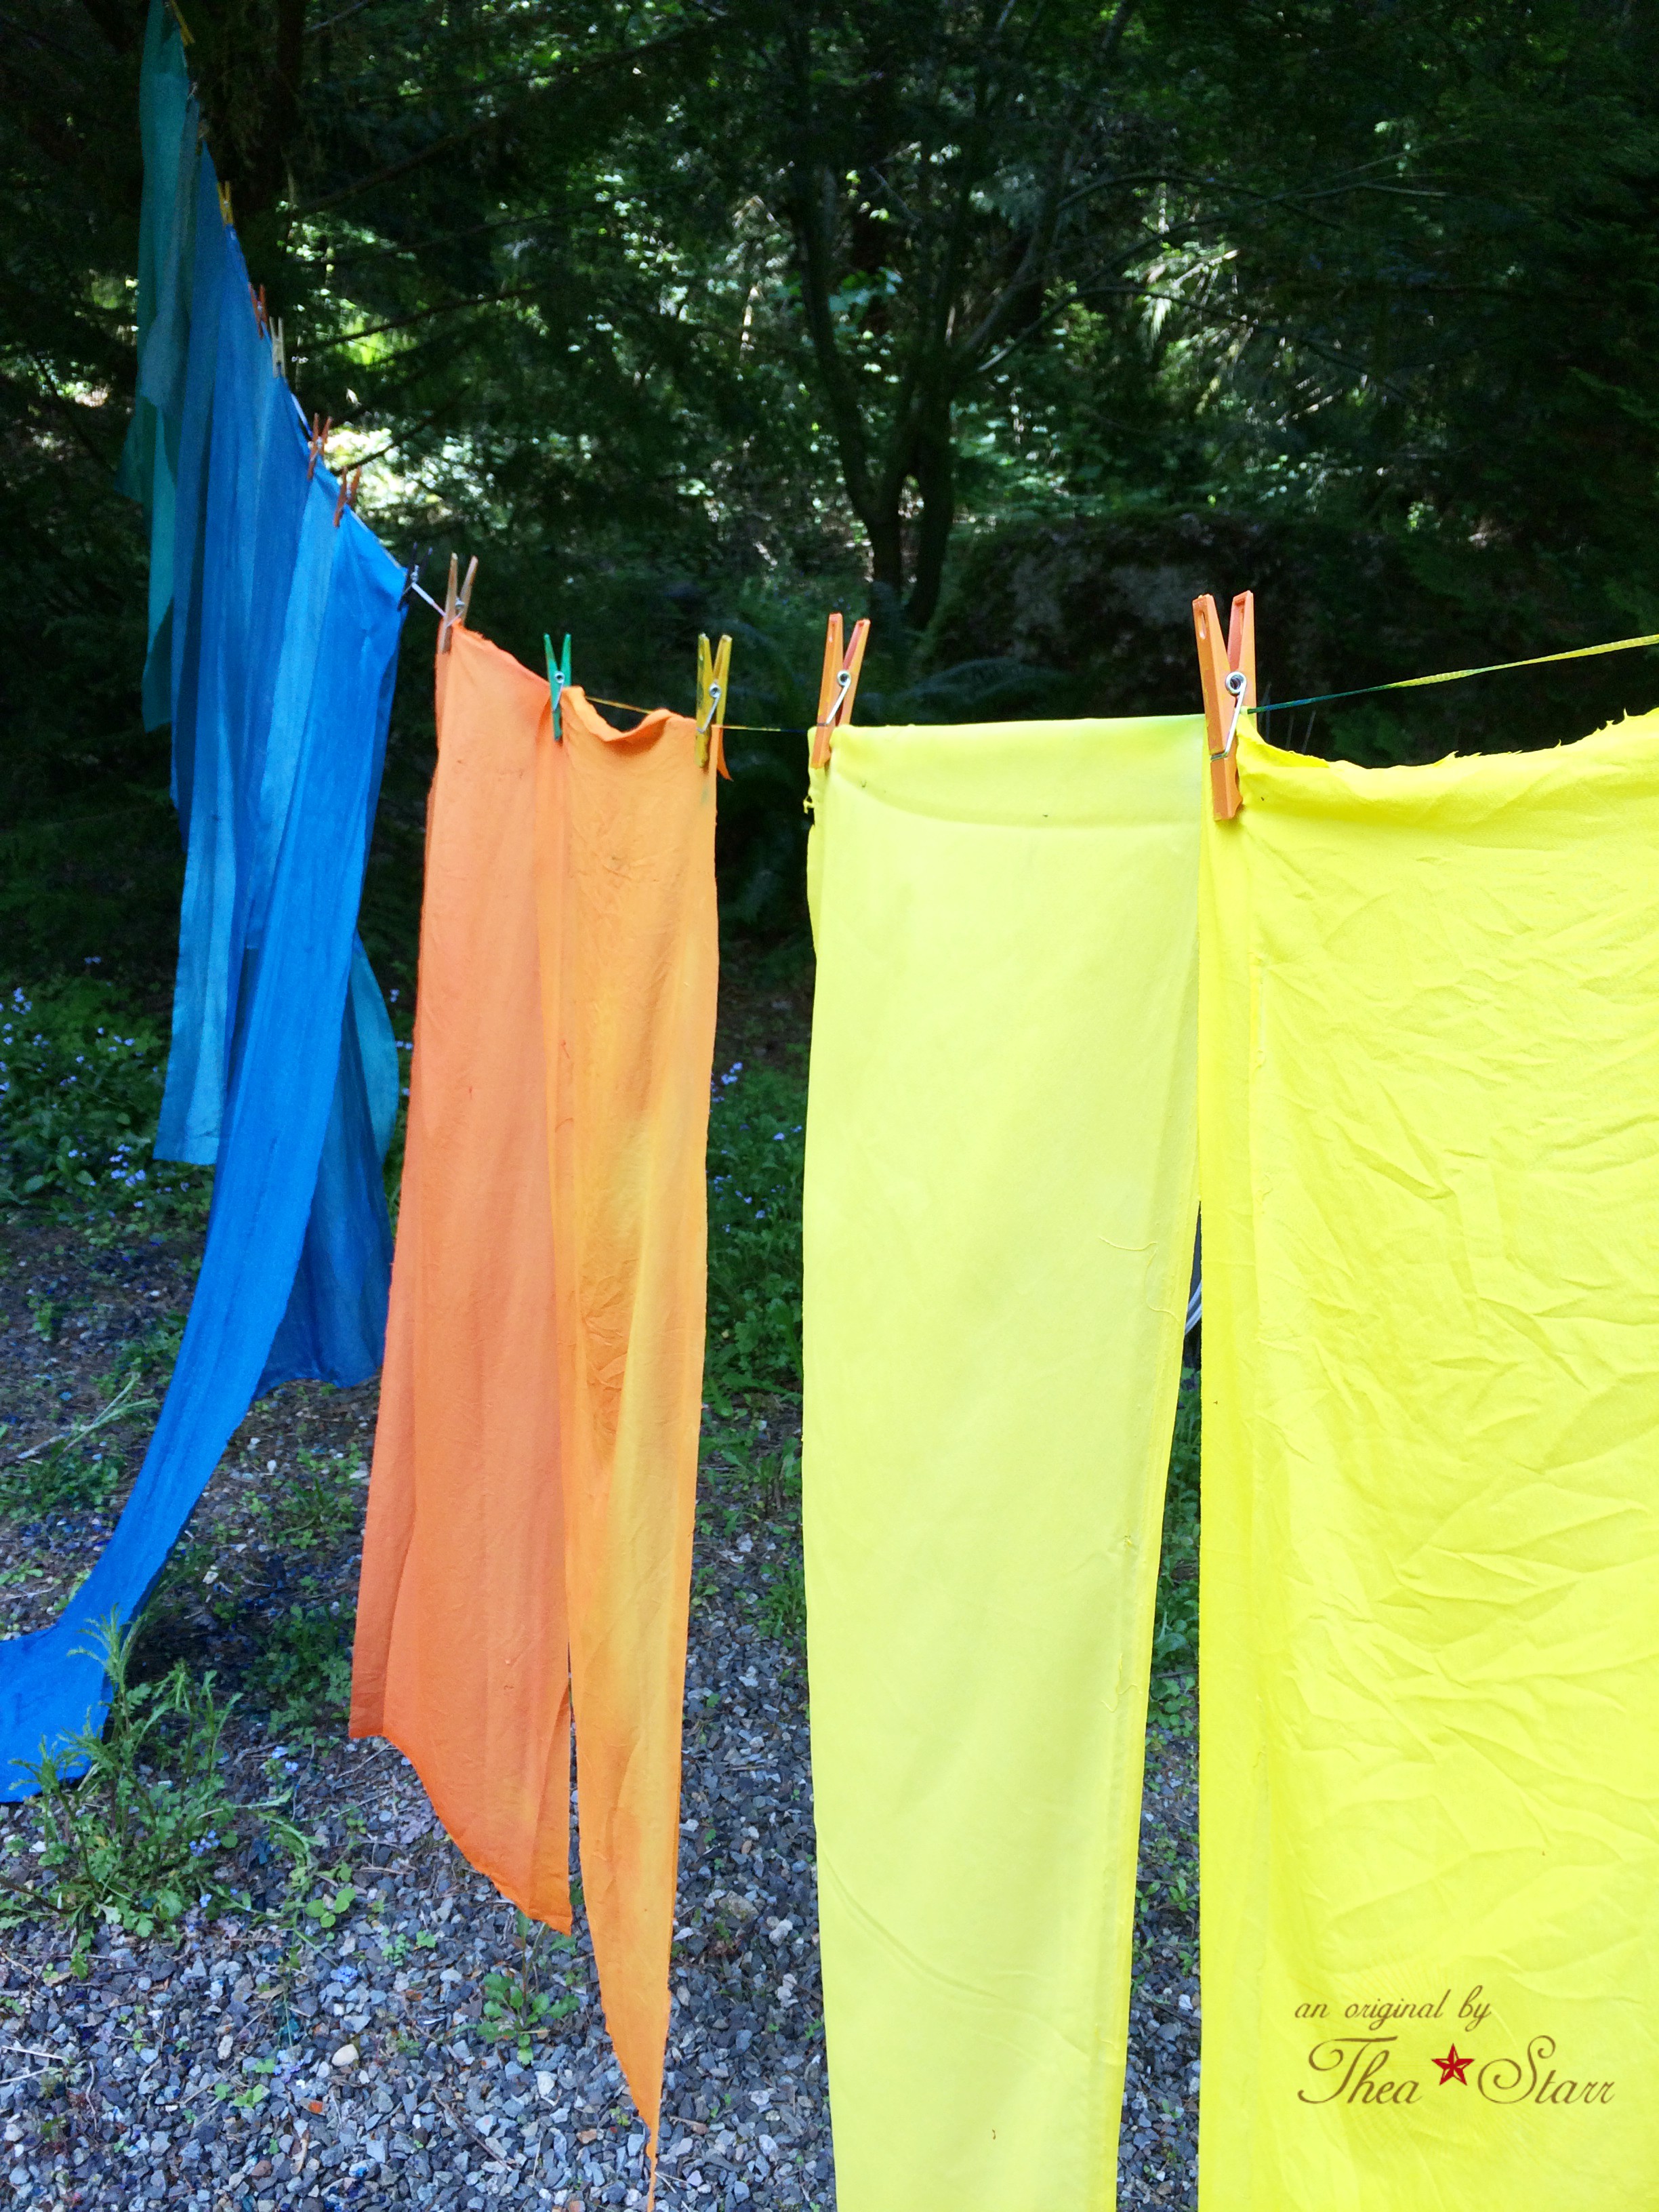
I usually dye my fabrics outside in my backyard when I can use the garden hose to clean things up as I go. I will however, facilitate my bathtub in a pinch if the weather is bad. I do live in the Seattle area after all. Everything is hung up to dry in the sun and then I bring them in, heat set the dye by ironing them with appropriate heat temperature for the type of fabrics. Then I cut everything up on my cutting table. I'll share that process in another post.
That's about it for my dyeing process. Did I miss anything? Do you have a question you'd like to ask me about my process? Are you wondering if I do yoga because of the position that I am in, in the first photo? I don't, I'm just a really flexible person and I do have the "Asian Squat" ability thanks to my mom.
xo-Thea