No Sewing Only Treasure Hunting

Hi friends! I took a little summer break so to speak. Lots of family events and little local fun things here and there. That hasn’t allotted me with much sewing time, but plenty of time to treasure hunt.

My husband recently started a new job, so we had a little down time to hit garage sales and thrift stores around our area. I picked a couple machines and tons of vintage sewing notions. I added some examples of my in the wild finds.

With my life into a new groove, I’ll be working on some new projects ASAP.

xo-Thea

Recent Finds & What To Work On Next

Tis’ the season for deals apparently. I’ve had a little lucky streak at thrift store and garage sales recently. Unfortunately, I haven’t really been motivated to actually sit down and sew much in my hot sewing room. (As an old timer PNW gal - we just don’t have A/C). Projects are lining up and I’ve hit a bit of a hump of what to work on next.

Here’s a closer look at the 401A’s cabinet.

I tried in vain looking for the model number on this vintage MCM Singer sewing cabinet that came with the 401A.

Sewing machine cabinet knowledge is a struggle bus for me. While there are some resources and groups out there. I haven’t found one really comprehensive spot yet. So, if you’re wondering what cabinet model this is - I don’t have an answer. Mahogany wood, side door swing, MCM style for a 401A cabinet thingie. Hahaha.

So far, folks want me to tackle that 401A first. I’ll probably do that. I do intend to have videos on all four of those items I show in the video, as well as a couple more already in progress. Once I get over my heat aversion that is.

Stay cool friends, xo-Thea

The Un-stinkening of the Super Stinky Vintage Sewing Machine Case

My recent dream machine purchase came with an unwanted surprise. A super stinky case. I have never in my vintage sewing machine collection come across something so horrid smelling. I mentioned that unfortunate bit in a recent video and I got a few recommendations on what to do.

I took that advice after trying a couple easy things first. See the video below to see what I did.

How to fix a stinky vintage sewing machine case.

What I used: https://tinyurl.com/msn3fyrp (not an affiliate link).

Thanks to a couple subscribers who recommended this blog post that has deep dives into the problem: https://tinyurl.com/2hk849as

I appreciate you and I’m just sharing the wealth of knowledge. And boy is it nice to not want to barf every time I walk by that case now. :)

xo-Thea


Singer Featherweight 221K vs. 301A | The short bed versions.

When I started to get into collecting vintage sewing machines, I immediately heard the word “Featherweight” as a machine I needed to check out. A quick Google search gave me a plethora of information about it and more importantly a noticeable higher price point. Granted, I thrift 90% of my sewing machines and prices are in the $14-$125 range and “higher price point” is relative to what you’re looking for in your area. I personally rarely pay over $100 for my machines. I am an avid thrifter/secondhand buyer so I am constantly on the lookout for deals and often spot them in the wild. I know not everyone is as passionate as I am about that so I might see a higher content of price ranges than the average person.

Want to skip my post and just watch the comparison video? Click here.

My immediate question was why were they higher in price? Did they perform better than most machines in the land? Do they do something special?

I had a bout of luck when a neighbor gifted me a Singer 221K. (I did a whole video on that and you can watch it here on my channel. I know how lucky I am with that gift and I am extremely grateful. It is such a cute machine. Since, it is a 221k rather than the standard 221 I know there are a few differences. I have yet to compare those personally aside from the searchable price. The 221K and the 221J tan colored models are higher priced here in the United States. The 221K (White/Celery/Teal) models were made in Scotland so they are harder to come by here. I understand the same is for the 221J, which were made in Canada. With all of that said, they tend to have a price that is in the $1,000 - $1,400 (USD). Whereas the regular 221 black short bed Featherweight made post WW2 is typically $200 - $400 in my area. Condition, original bobbin housing, accessories, original box, manuals are considerations to the price as well.

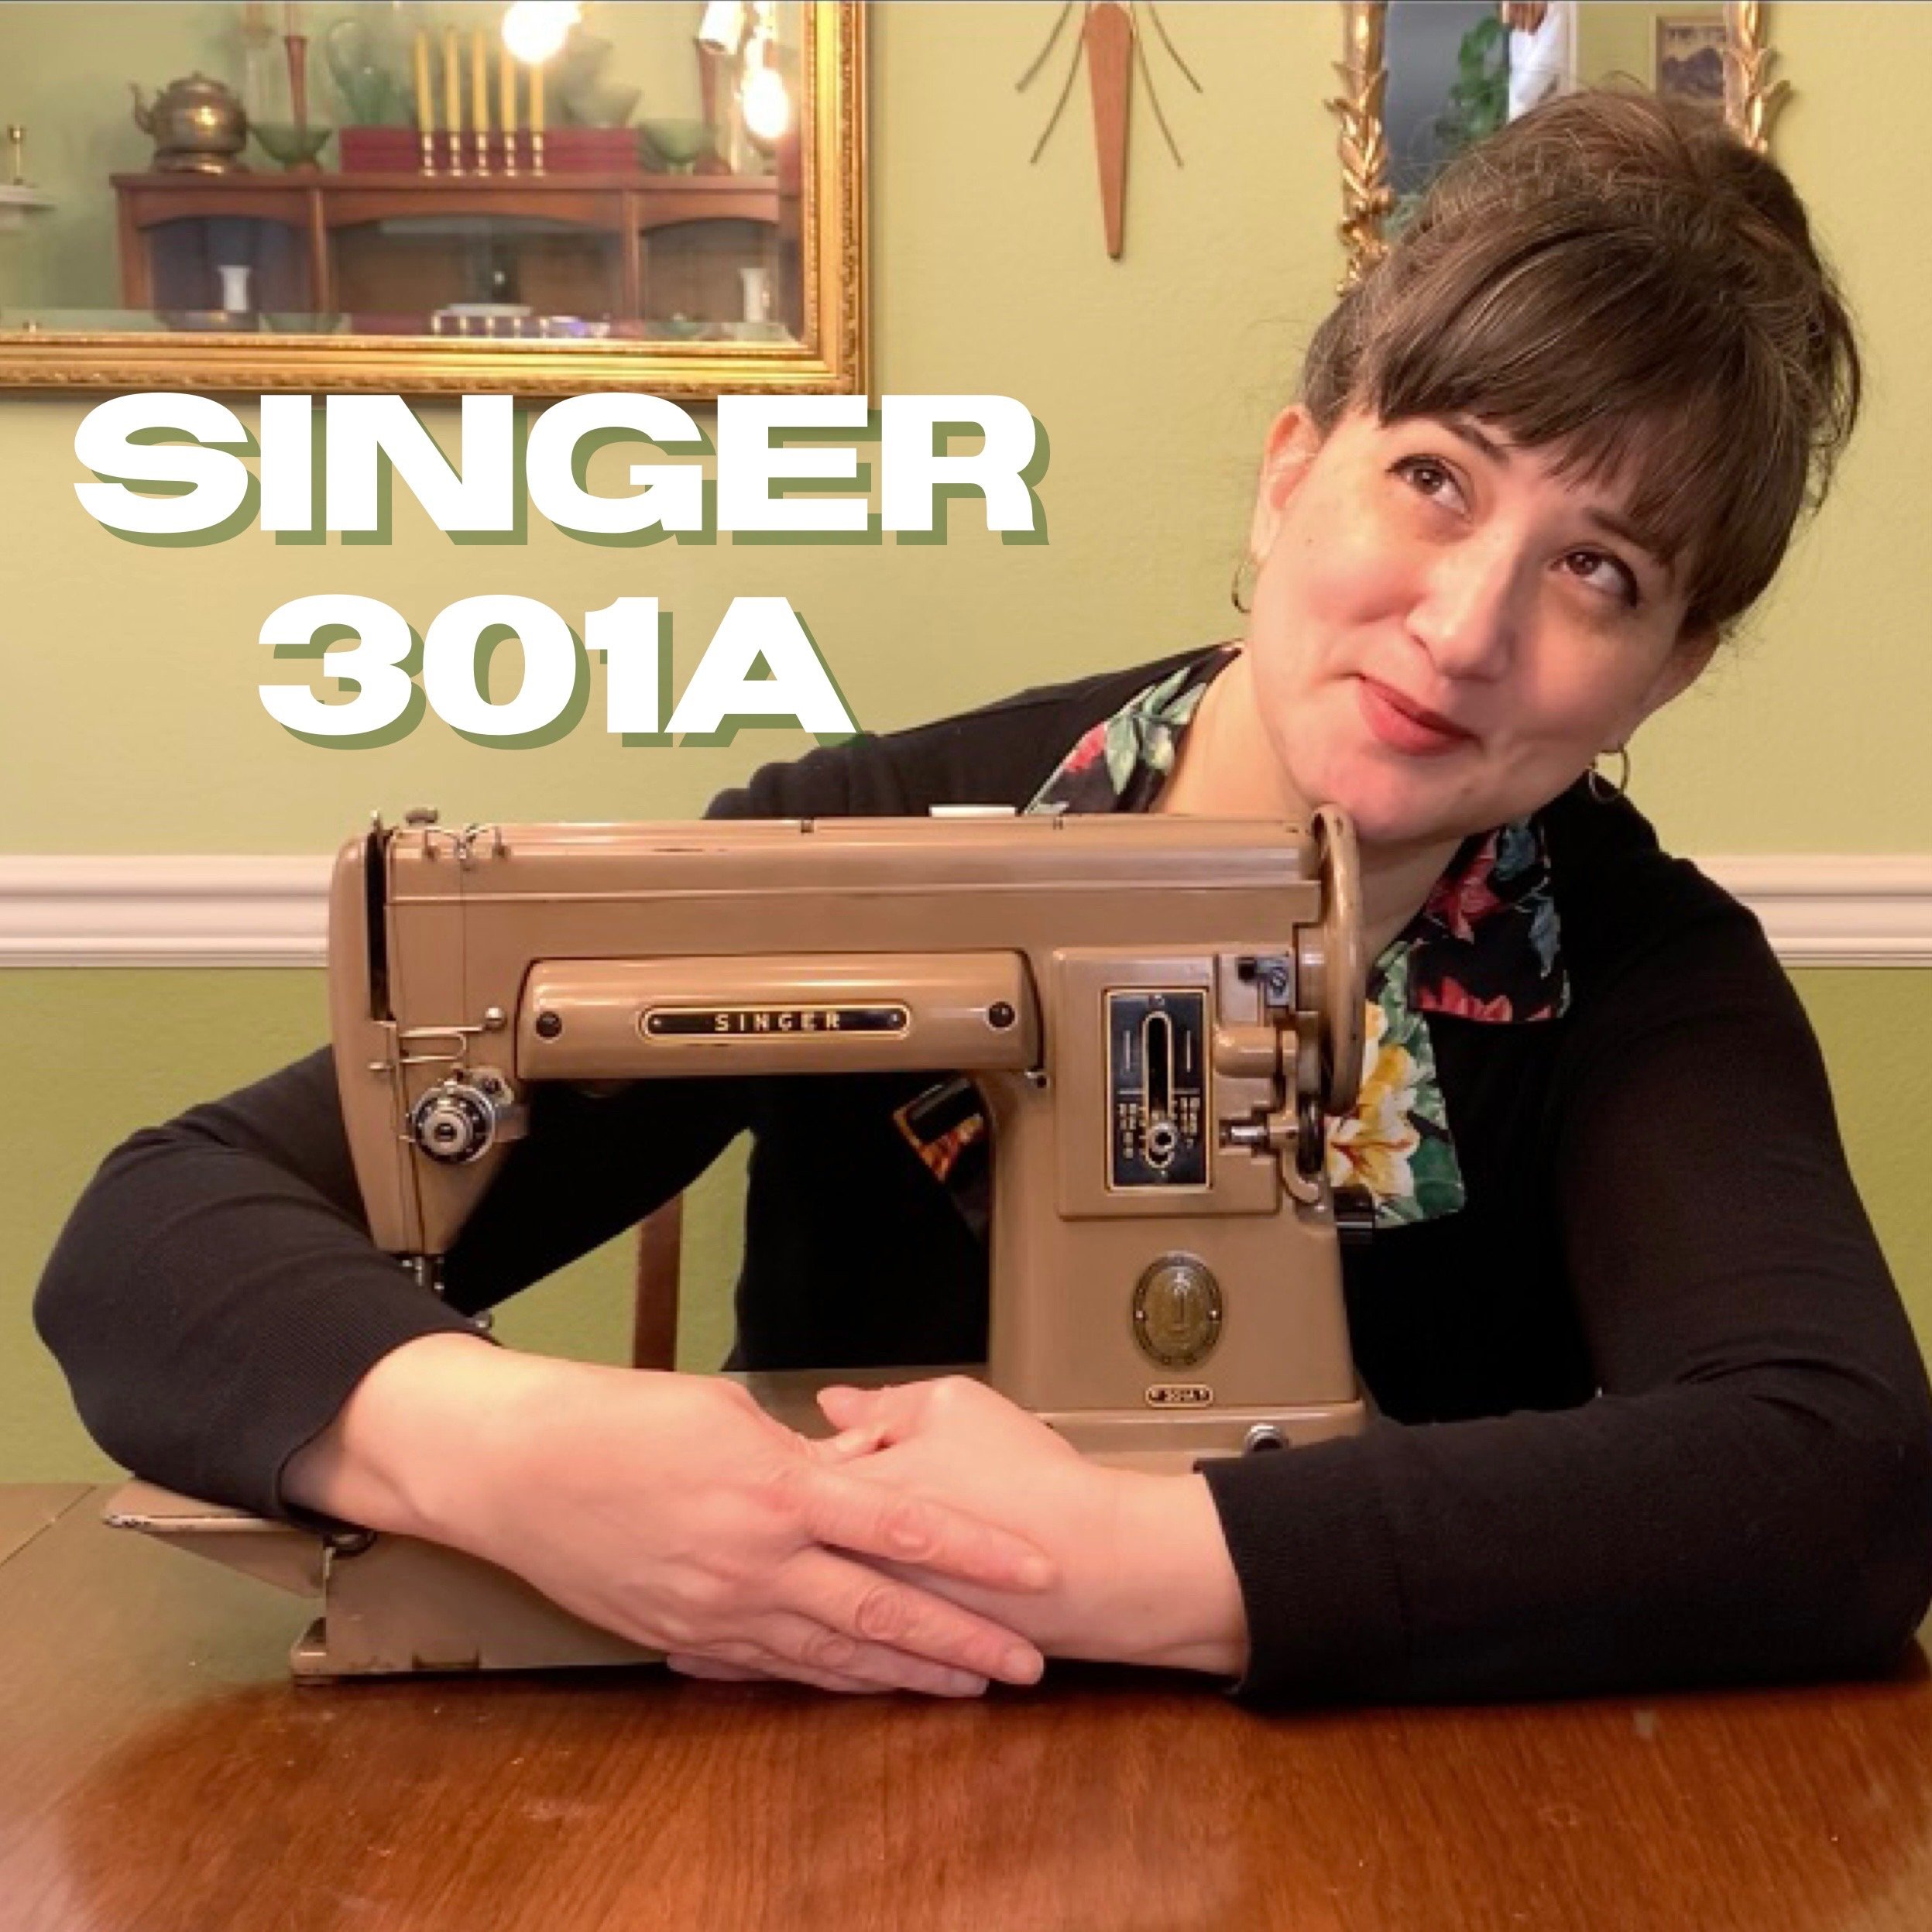
After price consideration, does it perform better than my beloved 301A? The 301 model is often called “the big sister” the Featherweight. Or a “Featherweight on steroids”. That second one really made me laugh, but I don’t personally agree with either nickname. I thrifted a 301A at my local Goodwill awhile back. Fixed her up and we became best friends. You can watch my video on that on my channel too.

I absolutely love my 301A. Excellent stitches, the slant needle shank for more viewable area, the general oomph, of the motor. I love, love, this machine. So, when I had the opportunity to compare the two models personally I was extremely excite about it. Please watch the video below or watch it here on my channel.

Singer 221k vs Singer 301A (the short bed version).

The battle of the smalls. The wee ones that sew really well. The little sewing machines that can do it. It was fun to talk about them side by side as a user and not just a wannabe repair lady.

Let me know if you have both models of the machines and which one you prefer and why. Or do your machines serve specific needs for a type of sewing/project you do. I feel that is also an important consideration too. I’m still deep into my apparel sewing journey, but I am beginning to dabble very lightly into quilting. My love affair with fabric just gets bigger and bigger.

Time to sew and more from me real soon.

xo-Thea

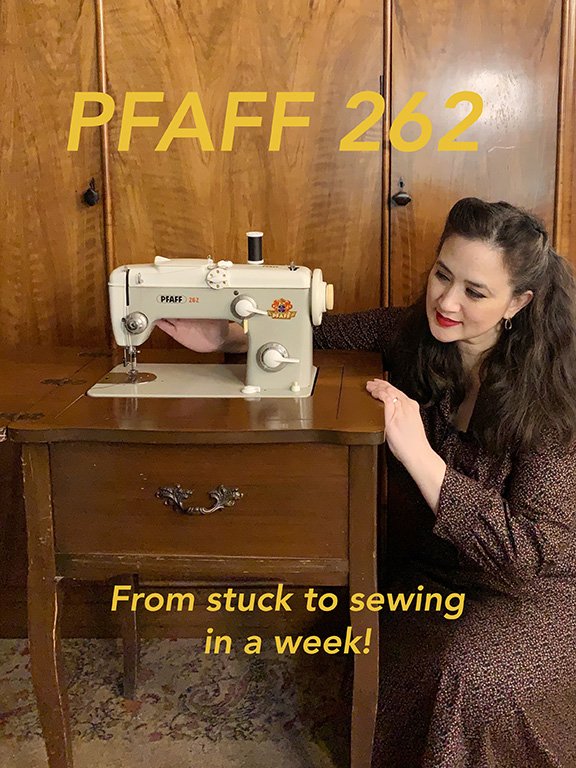
PFAFF 262 - Stuck to sewing within a week!

Hello, hello, hello!

Hopefully you all are following me over on Instagram, YouTube or even Flickr. Obviously I am still terrible at blogging. But I am pretty hyped about this little project I did.

Recently while out thrifting with John, he spotted this Pfaff 262. (I have him on the lookout for me for older Singers & Pfaffs.) When I put my hands on it at the store, I couldn’t get anything to move. It was seized up and pretty dirty. It looked like it lived in a garage previously. Pfaff machines are my favorite. I have been sewing on one for the last 20+ years. With a price tag of $25 and hope in my pocket, I decided to take a chance on her.

Since I am in the deep rabbit hole of vintage sewing and vintage sewing machines, I decided to document what I did to just get her in a functioning state. Many videos and tutorials are geared to those with a bit more experience. I am a newbie. I need to take hands on baby steps and want to encourage others too.

*I do have small machine repair experience from when my dad was still alive. He ran an auto body shop and a small engine repair shop. Guess who got to tear apart a bazillion chainsaws and lawnmowers before the age of 13 and into high school.

This was a bit beyond a simple cleaning. That glue like varnish from the gasoline and Vaseline mixture was no joke. I did have to use a bit of physical force too. John only assisted me with reinstalling the pressure spring that I popped off when I took out the cam assembly.

I had to take this out to access points to oil to get rotation inside the machine.

Above, aside from the mandarin orange is everything I used to work on this. I stick with using only sewing machine oil to get things clean. I did use some 91% isopropyl alcohol to take off the stuck residue from the maintenance service company sticker on the front. Two soft head toothbrushes, lots of Q-tips, a couple napkins, a couple toothpicks and a rag for cleaning. Long bent nose tweezers, a flat head screwdriver that came with my “modern” Pfaff machine and John’s iFixit kit were the tools I used. The wire cutters and pliers were used for another machine I am working on too.

In the future I want to attempt retrobrighting (John will handle this process) some of the dials and hand wheel that have yellowed with age.

I am taking a brief break from fixing things to sew. But I am going to dive into getting the embroidery stitches working and I will post and update video when I do.

My hands are dirty but my stitches are good.

If you’re feeling handy and run into a situation similar to what I did. Give it a try! I’m feeling really good about bringing this gal back to life. I named her Diane after my sister (now known as The Living Miracle) who recently survived a very serious accident. (She was hit by a car at full speed while on a walk.) I feel naming this machine after her is appropriate.

That’s all for now friends. Be sure to connect with me on the outlets I mentioned above for more consistent updates.

xo-Thea